The demijohns Link to heading
I had the unfortunate task of clearing the family home last year, and one of the things I found was a couple of dusty old demijohns. I had fond memories of the sound they made slowly burbling away under the stairs when I was a child. My parents used to make home-made wine (my favourite being parsnip wine or parsley wine - I can’t actually remember which of the two it actually was), and when I got to High School I began to make my own too (my favourite being gorse blossom wine).
I’ve also been interested in closed ecosystems for while, enjoying stories like Sealed Bottle Ecosystem Only Watered Once in 53 Years. I have been wondering if that might be a partial answer to some of the problems my house plants have been having with the excessive levels of dust in the area and the susceptibility of some to red spider mites.
So I thought it’d be nice to combine the two, and bring the demijohns back to life as terrariums.
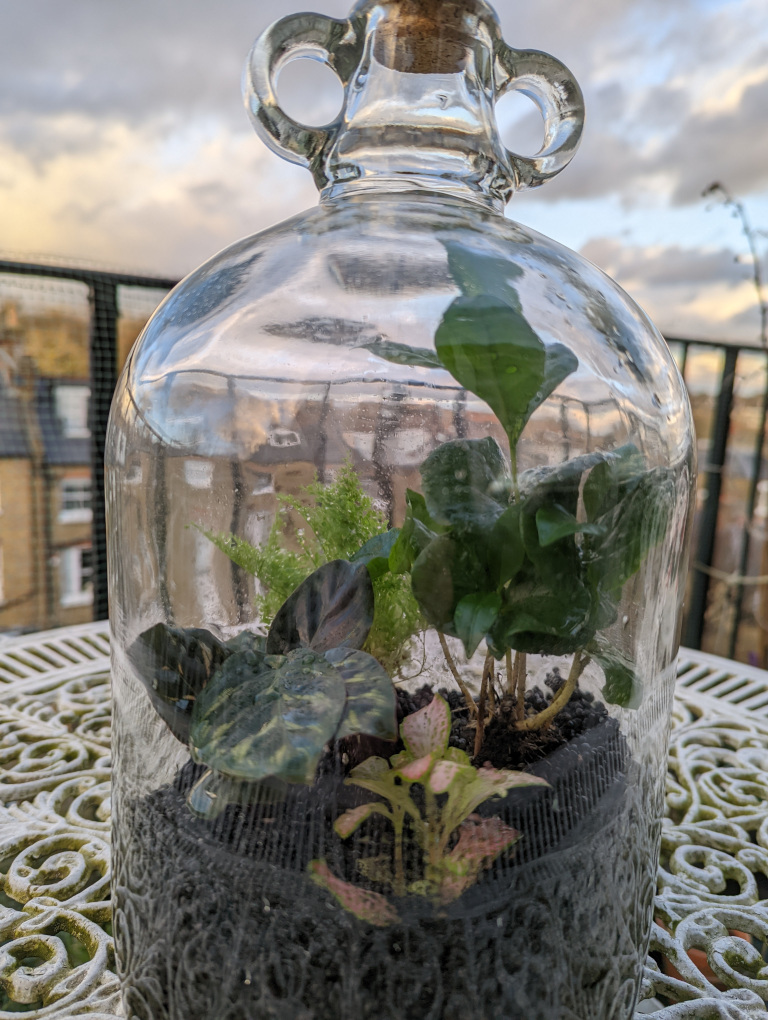
The finished terrarium Link to heading
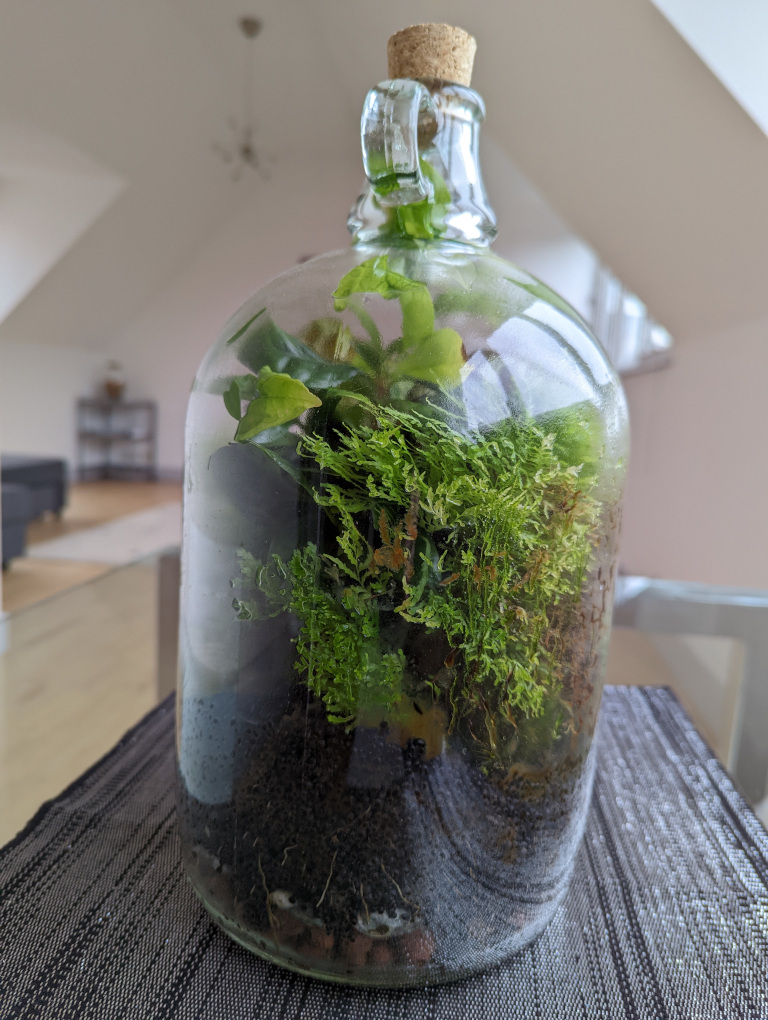
This is what it looked like the day it was finished:
Tools, materials and plants Link to heading
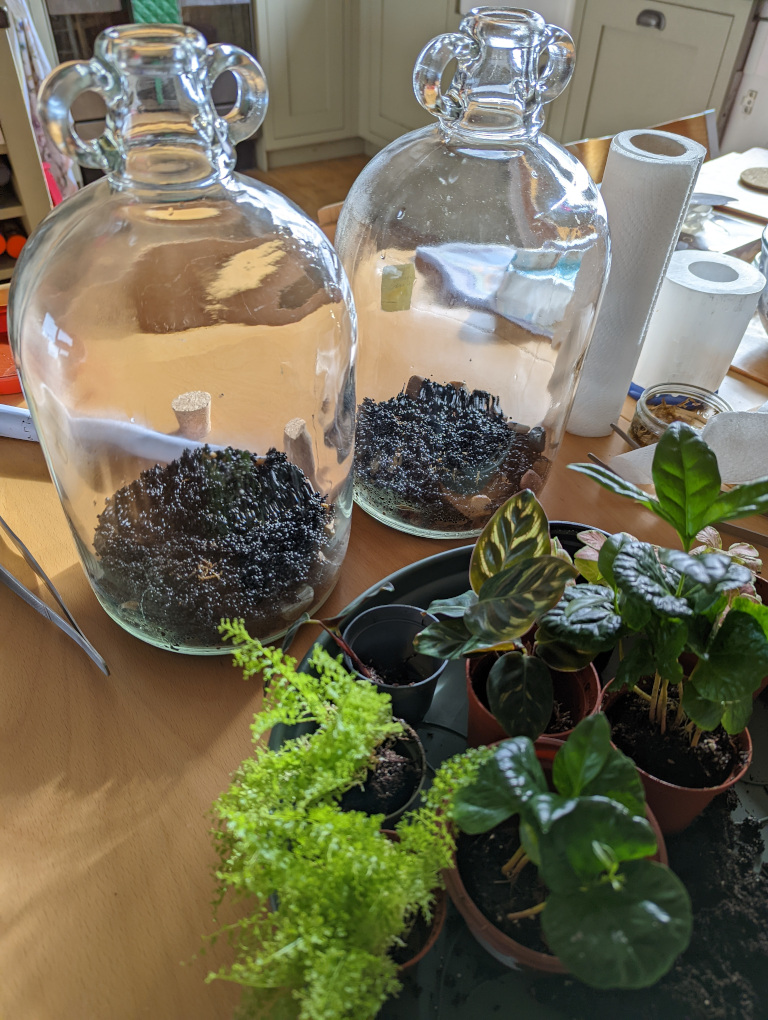
As with many things, before starting, I did a bit of reading on the internet, and put together a list of some tools and materials I thought I might need, along with plants which might work inside a closed terrarium.
Tools Link to heading
Tools:
- Extra long straight and curved tweezers.
- Telescopic spade and rake.
- Long curved scissors.
- Cork stick for flattening.
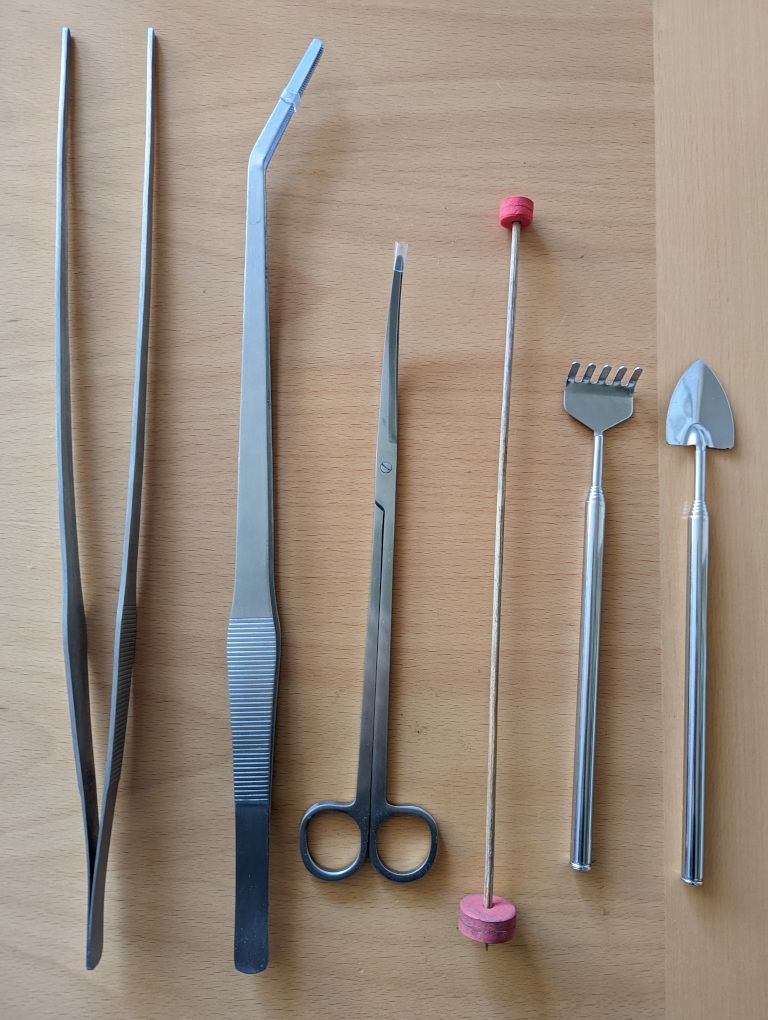
As you might be able to see from the photo, the stick is improvised from a bamboo barbecue skewer and foam shapes from a children’s craft box. I also improvised a funnel with some paper (although ended up getting through a few pieces of paper given they got wet, so there would be a case for buying a funnel). The fancy telescopic spade and rake turned out to be a bit of a waste because they didn’t fit through the bottle opening.
Materials Link to heading
Materials:
- Hydroponic clay pebbles (aka leca balls).
- Terrarium draining mesh.
- Activated charcoal.
- Substrate (I went for the Fluval Plant & Shrimp Stratum Aquarium Planting Substrate).
Plants Link to heading
I didn’t like the idea of buying plants on the internet and getting them through the post, but in the end that’s what I did. I bought a few plants from different suppliers, and the quality of plant and packaging did vary quite a lot. The worst arrived in poor condition and died pretty quickly, but the best arrived in great condition and good health.
I built a test terrarium first. I used a green fittonia and an asparagus fern, because I really liked those plants, plus a few varieties of moss. However, the asparagus fern really didn’t seem to like it inside the demijohn and started dying off pretty quickly. Plus it seemed a little sparse only having two plants in there.
I built the first proper terrarium, the one pictured below, a couple of months after the first, after I’d seen how things had settled with the test one. This time I used the following plants:
- Pink and green fittonia (nerve plant), 5cm pot
- Arabica coffee plant, 7 cm pot
- Calathea makoyana (peacock plant), 5cm pot
- Nephrolepis (fluffy ruffles), 6cm pot
And the following types of moss:
- Mood moss (dicranum scoparium).
- Carpet hypnum moss (hypnum cupressiforme).
Putting it all together Link to heading
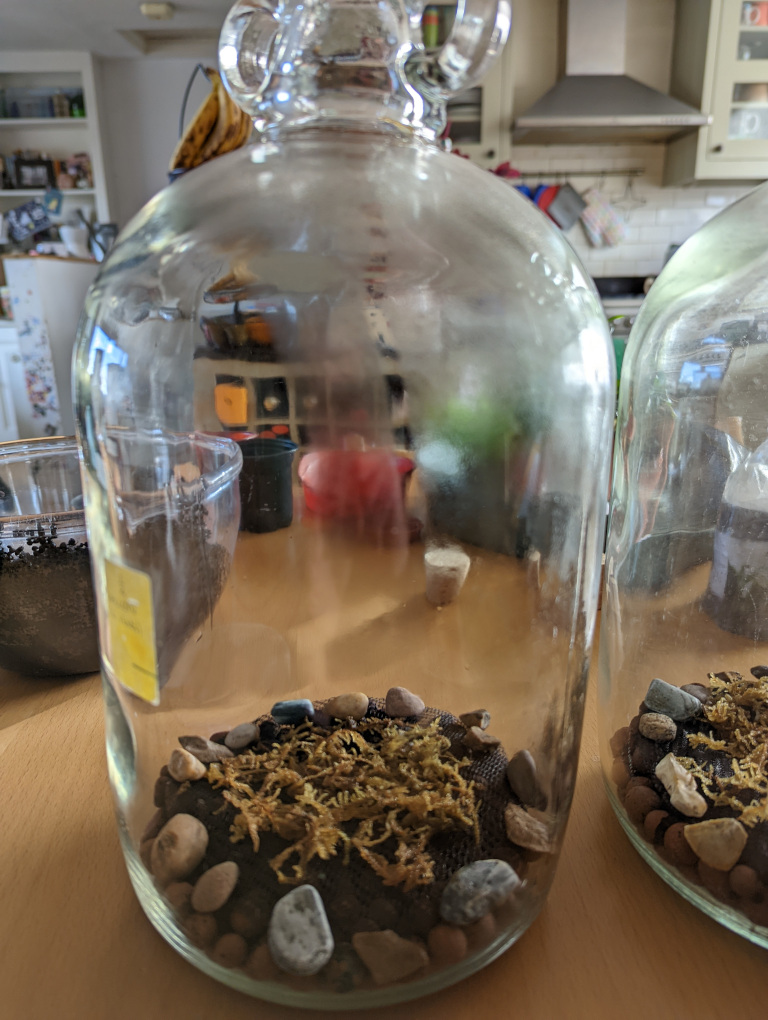
Step 1: The drainage layer Link to heading
After cleaning the demijohn thoroughly, I put in the clay pebbles at the bottom. I reckon I put too deep a layer of these in the first test one, meaning less space for plants to grow, so only put a centimeter or two in the next. I topped with the draining mesh, to stop the substrate clogging up the draining layer. Not sure the mesh was completely necessary, but I thought it was best to be on the safe side, especially given the time I was putting into the project. I kept the mesh in place, and hid the clay pebbles a little, with some decorative stones around the side. I sprinkled a little dried moss on the draining layer, and a little activated charcoal to try and absorb some of the impurities. There seems to be some debate as to how necessary the activated charcoal is, but again I was erring on the side of caution.
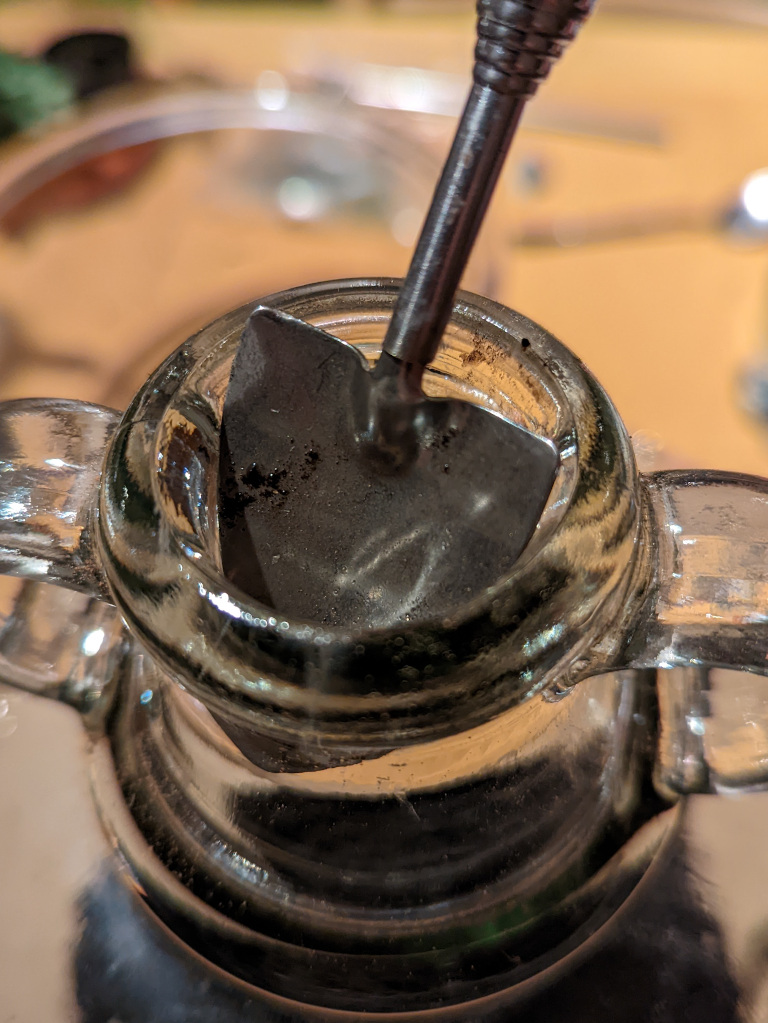
Step 2: The substrate layer Link to heading
After the drainage later, I added the substrate. I chose some volcanic substrate that contained nutrients. I gave it a bit of a rinse to get the excess dust off, to reduce chance of the drainage layer getting clogged up, and put in enough to be able to be able to plant the plants.
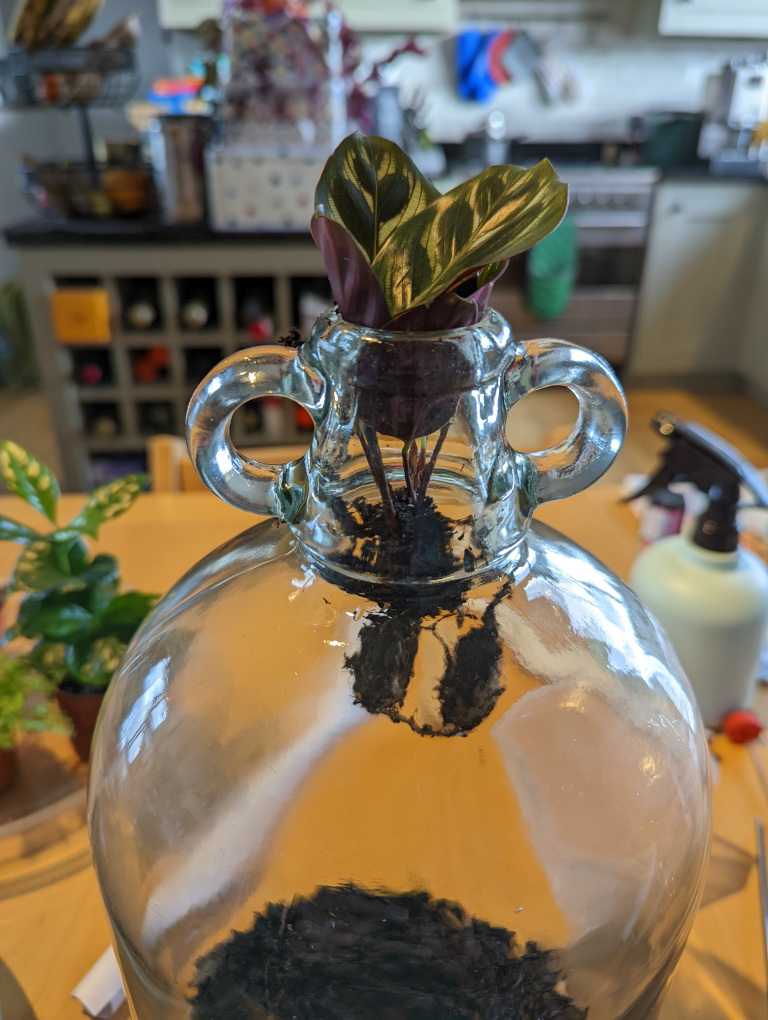
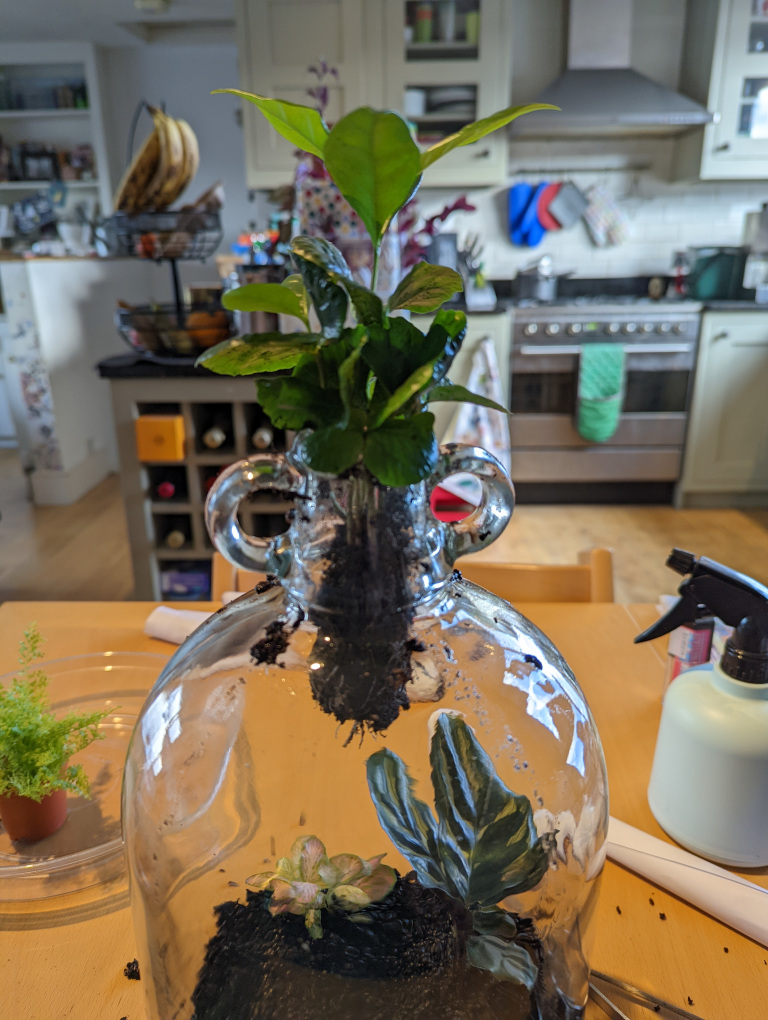
Step 3: Adding the plants Link to heading
I was a bit concerned about how I’d fit the plants through the bottle neck. The narrowest part of the cork was 2.74cm, but the smallest plant pot I got was 5cm. Fortunately most plants split into two while preserving roots from both parts, so they fitted through okay. One plant wasn’t splittable, but did squish up enough to fit through. Some of the larger leaves could also be rolled, so all got in with minimal damage.
How it has grown over 9 months Link to heading
4 months Link to heading
Four months later, with zero watering or any other form of maintenance:
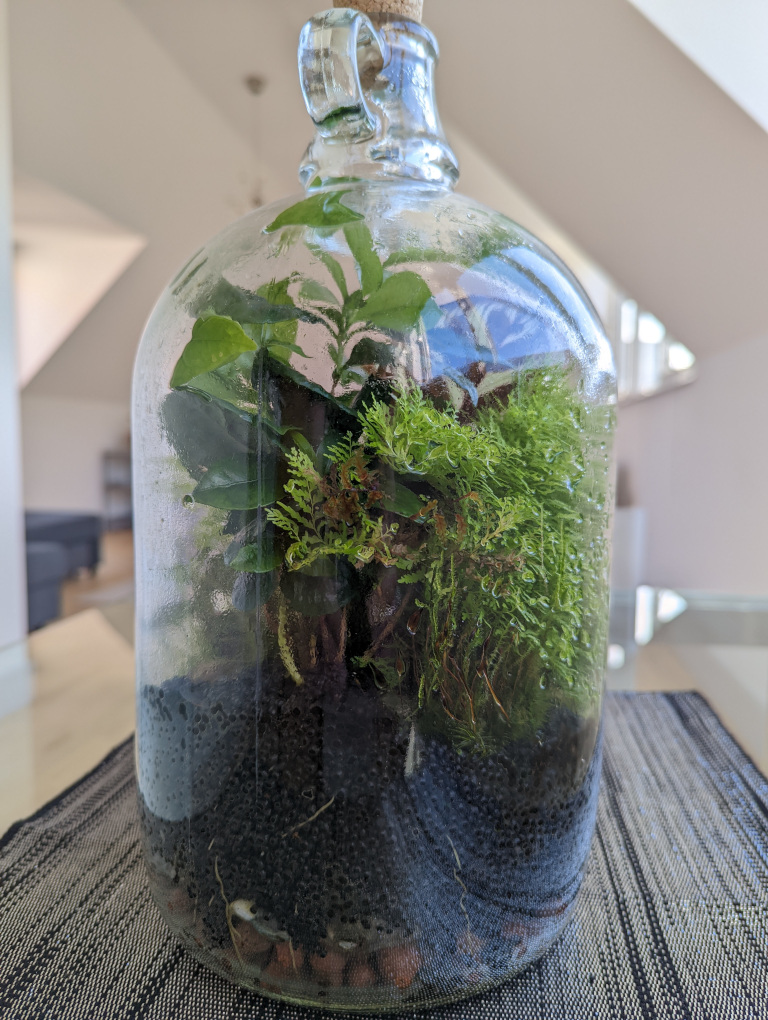
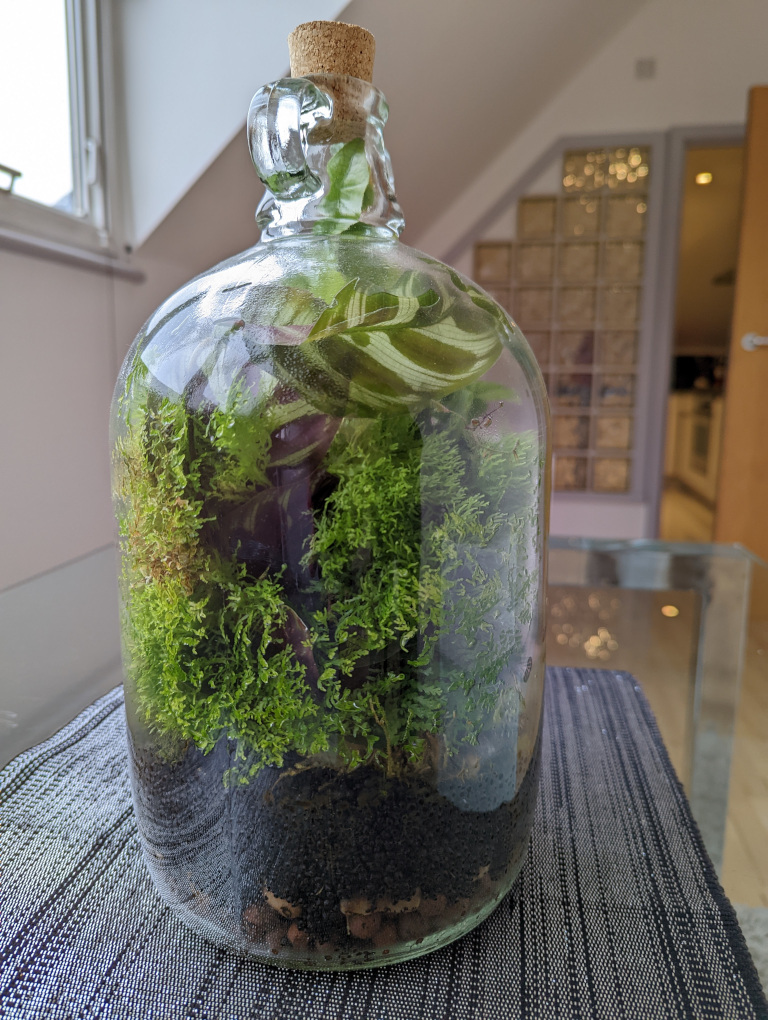
9 months Link to heading
And 9 months later:
Conclusion Link to heading
I’m actually pretty pleased with how it turned out. The nephrolepis seems to have taken over a bit, the coffee plant seems to be trying to push out the cork, and the peacock plant has a huge leaf which is in danger of blocking out the light to the other plants, so I’m wondering if I should have got slower growing plants. I might do some pruning, but I might wait to see if some kind of equilibrium is reached.
The glass does seem to be of varying thickness, so it does distort your view of the plants a little, and I sometimes wonder how much UV-light it lets through, which I suppose isn’t surprising given it isn’t designed for decorative or plant use.
But it does add more life and greenery to places which might not have had them before, and has so far been completely maintenance free.